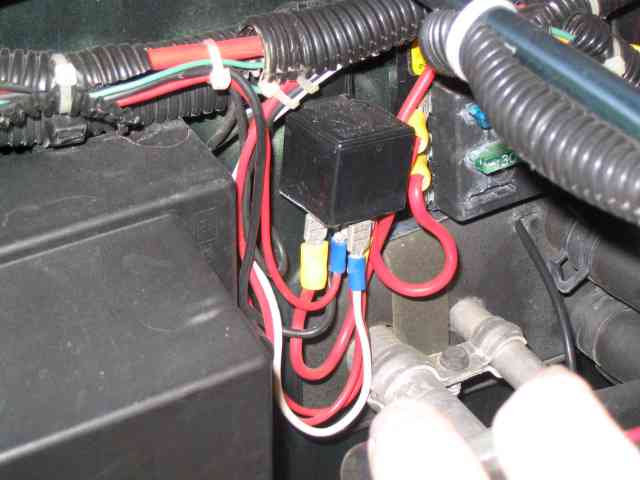
The above is one of my typical 12V relay installs. If I remember correctly, that one is for some rock lights beneath the vehicle. I used crimp on spade lugs to attach the relay terminals to the appropriate wires. It works pretty good in a pinch but it is not the best long term setup. It can also be a little confusing if you pull the wires off of the relay (such as when you are replacing it) without properly marking them.

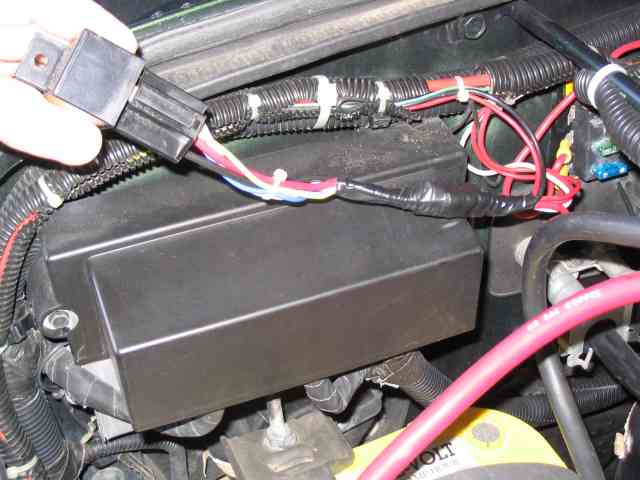
I was surfing the internet one evening, getting some information for some OBA parts I was ordering, when I came across some reasonably priced relay sockets. They were less than $3 each so I ordered a few from RobotMarketPlace. I wanted to replace the spade lug terminals I had been using (see above photo). The relay came with a lengthy pigtail of wires attached to the socket, as can be seen in the above picture. I picked up some butt splice terminals to attach my wiring to the socket leads.
It worked like a champ. I removed one wire at a time from the relay and IDed the matching wire on the relay socket. The spade lug terminal was clipped off of my wire and a butt splice terminal was crimped onto the wire and also to the socket’s wire. One by one I removed the wires from the relay and attached them to the appropriate wire on the socket. Once they were all removed, I wrapped the butt splice connectors with some electrical tape (for good measure mostly) and called the project a success.
Note: Be sure to remove the appropriate fuse for the circuit you are working on so as not to accidentally short the +12V lead to the chassis. If you don’t have fuses, GET THEM INSTALLED! If you still don’t have fuses, then remove power to the circuit by removing the positive battery cable. Be sure to replace it when you are finished.