Note: Toys by Troy shut down their operation at the end of 2007. Instead of removing this write-up, I am leaving it on the web site for a couple of reasons. The steps for installing it are pretty much the same as one from another manufacturer and so you’ll get an idea of what is involved if you decide to do this type of modification. If you happen to come across one on the used market, you’ll have some information about it that can help you do the installation correctly.
At a recent OHV area cleanup, I won a raffle prize. The prize, graciously donated by Troy, of Toys-by-Troy, was a front sport bar setup for my TJ. Since I already had one in the Jeep (welded in no less), Troy allowed me to trade it for something else. I opted to pick up one of his front bumpers. I had been running my old shortened stock bumper and decided it was time to get something a bit more sturdy. So, having the day off, I gave Troy a call and then stopped by to retrieve my prize. I tossed the bumper in the back of the TJ and headed for home for a quick install.
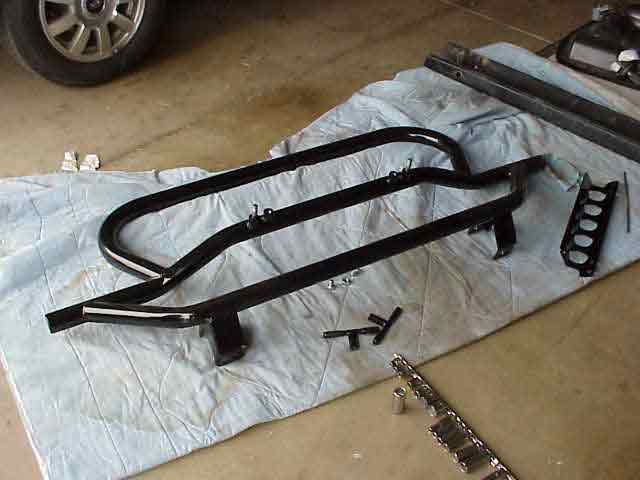
With the bumper home and put on an old blanket that I keep in the garage, I took a quick inventory of everything. I had a light bracket, two T-handles for securing my hi-lift jack, and a couple of nuts and bolts. Looked good to me….time to get started!
A 3/4″ socket, a 15mm wrench, and a #55 Torx made quick work of my existing bumper. (sure am glad I don’t have to lug that winch and mounting plate around all day long!)
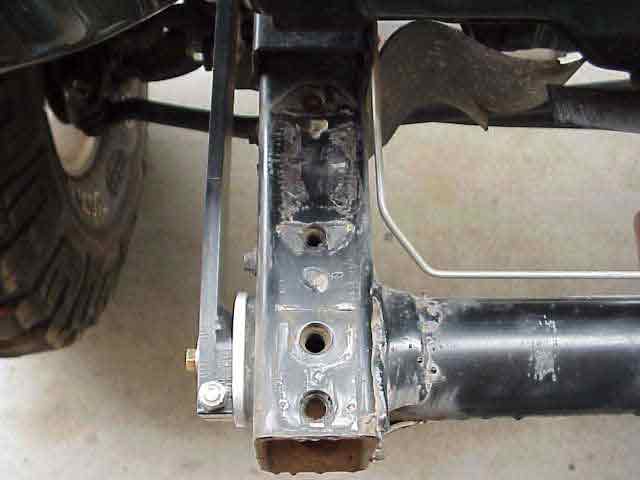
I checked the threaded holes, just to make sure everything was OK. I put a few drops of oil on the threads since I didn’t want the bolts to seize on me. I use lock washers on the Grade 8 bolts so I was not worried about the bolts backing out of their holes.
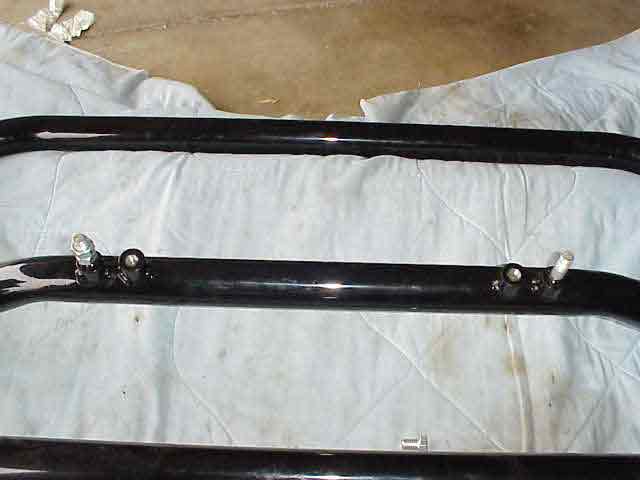
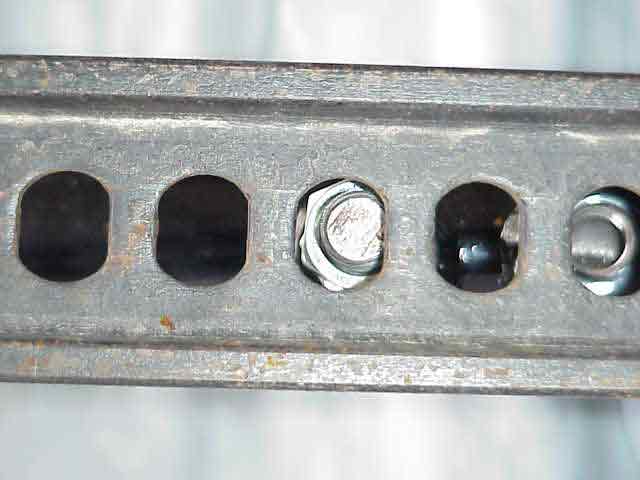
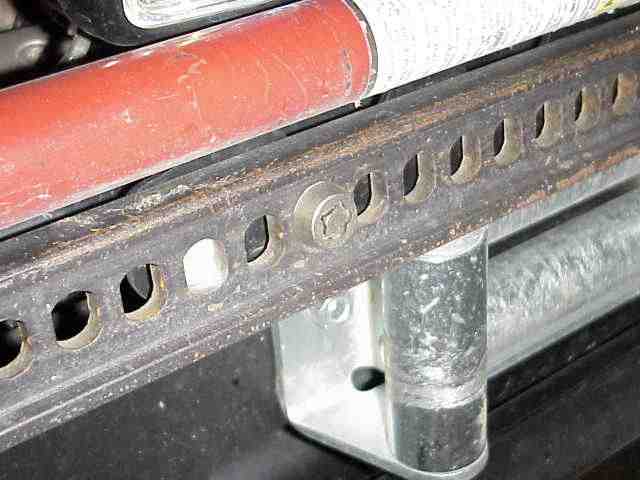
In this picture, you can see two sets of mounting holes on the center tube. These holes are used for securing the hi-lift jack and the light bracket. Since the folks that made the HI-Lift jack decided to use two different hole spacings on their product, Troy set up these two pair of mounting holes to accomodate both jack spacings. So, it does not matter which version of the jack you have, one of the pair of mounting holes will fit it (pretty cool!).
Well, as luck would have it, I put the HI-Lift bar in place and as you can see, the mounting bolt and the hole did not line up correctly. (Murphy’s Law of Bumper Installation!)
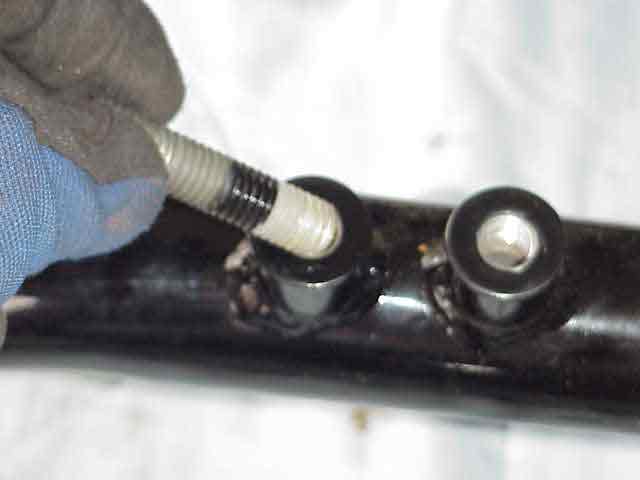
So, the mounting studs were moved from the outer pair of mounting holes…..
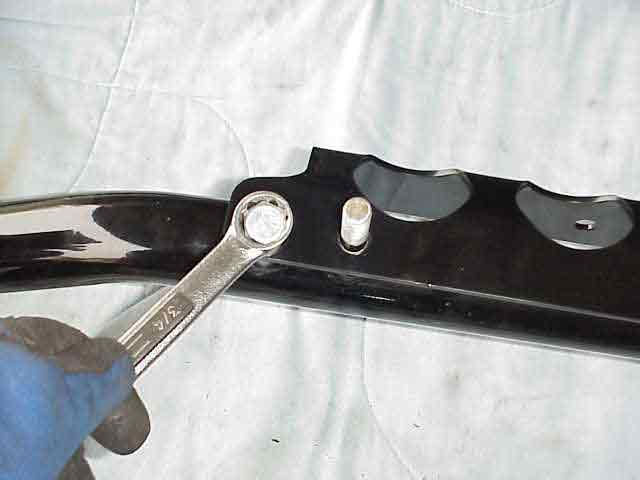
and the stud was moved to the inner holes. At the same time, I used the supplied bolt to secure the light bracket in place. That is the bulk of the “setup” for getting your bumper ready to bolt onto your TJ.
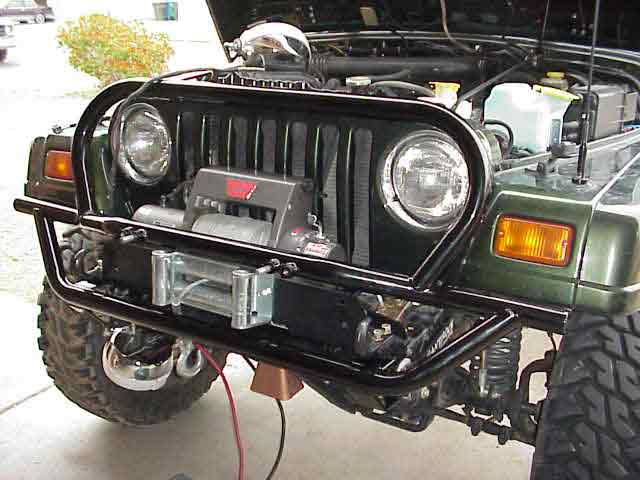
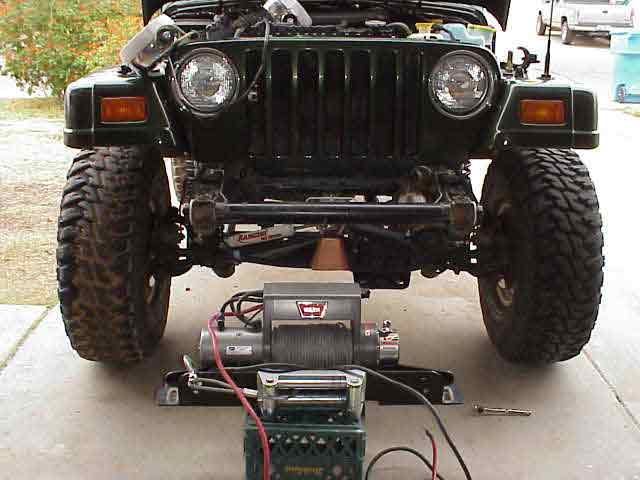
I put the winch back up on the frame rails and managed to slip the bumper in underneath the winch mounting plate. Not too bad, if I say so myself! Time to tighten the mounting bolts and reroute my winch power cables back up to the Optima battery.
Toys by Troy Front Bumper
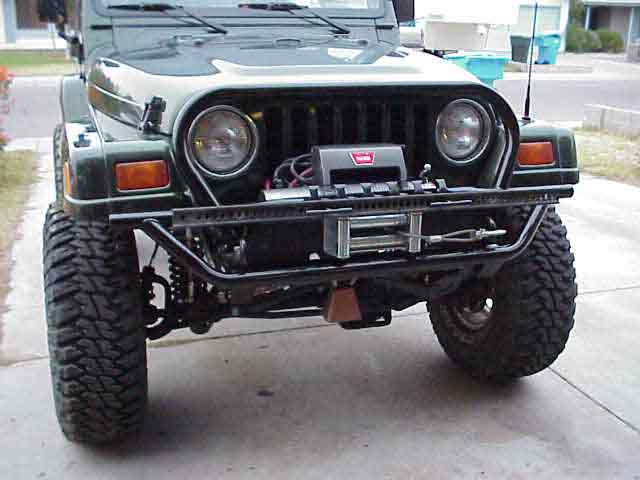
I put the HI-Lift bar on the mounting studs and secured it in place with the two T-handles. Yes, that will work nicely. I decided to pass on mounting my current off-road lights (some rather LARGE 130W Procomp lights) on the light bar. They would all but completely block what remains of my grill. I’ll have to hunt around for some smaller profile off-road lights and put them on the light bracket
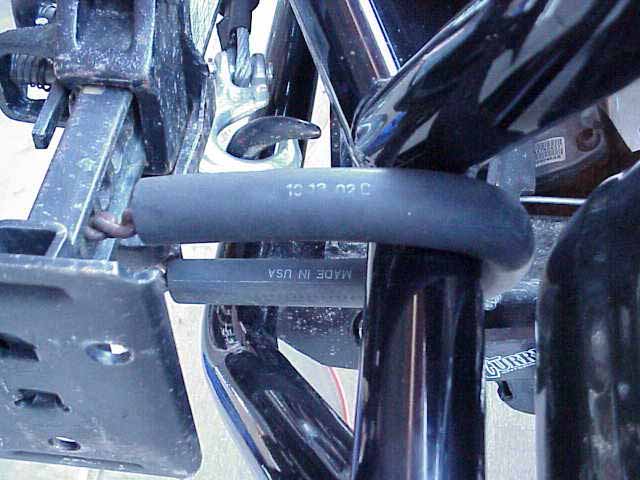
Given the way society is today (the part where someone else wants to steal the stuff you bought), I decided to try to secure the jack and hopefully eliminate someone relieving me of it while Lady was sitting in a parking lot. I used a 12″ length of 3/4″ heater hose to keep the chain off of the powder coating. (hey…the bumper is new and yes, it is the only good looking powder coating I have right now!)
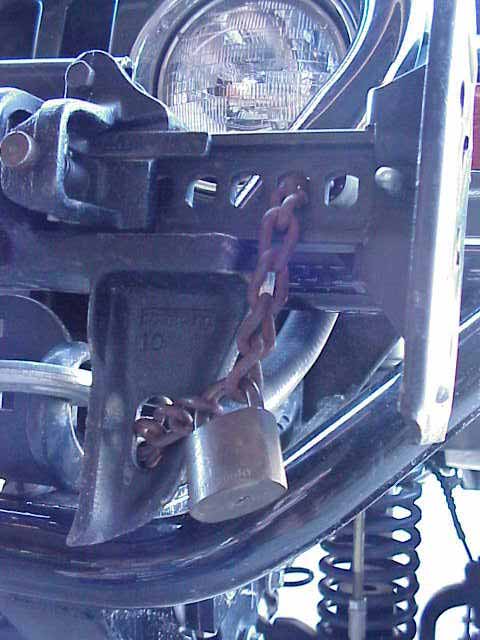
By routing the chain as shown above, both major parts of the jack were now chained to the bumper. Granted, the foot isn’t, but if someone is going to steel that, I guess they really do need it worse than I do.
I would have to say that this install doesn’t quite match the difficulty of swapping in a new tranny, but when it was all finished, I think it sure looked a lot nicer! I plan on hitting Axle Alley this weekend…..maybe I’ll get a chance to test it then! From what I’ve heard, it holds up pretty darn well on the rocks.
Toys by Troy Front Bumper
Update 01/18/2004:
Its been some time now since I put Troy’s bumper up front and I thought I would pass along my thoughts on how it has done and also provide some additional info for you.
Troy has a security bolt for keeping your Hi-Lift jack in place. It replaces the t-handle I had with something that resembles the head of a locking lug nut. When I had Lady in to have the alumi-flex steering and long arm lift installation, he put a couple of them on my front seat and told me to ditch the chain and padlock….so I did!
While running a trail a few weeks ago, the passenger front tire slipped off the rock and I came down pretty hard. Here is a short video clip from my buddy’s camcorder showing just what happened
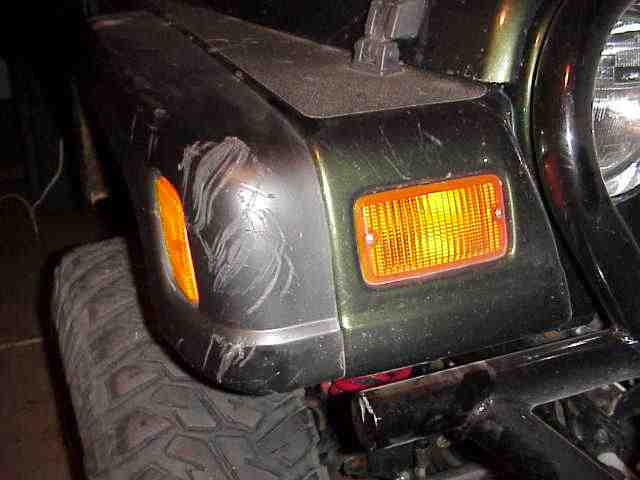
The bulk of the rock rash on the flare is from the hit in the above video clip. It occurred mostly towards the front and the corner of the flare. I was lucky to have Troy’s bumper on when it happened.
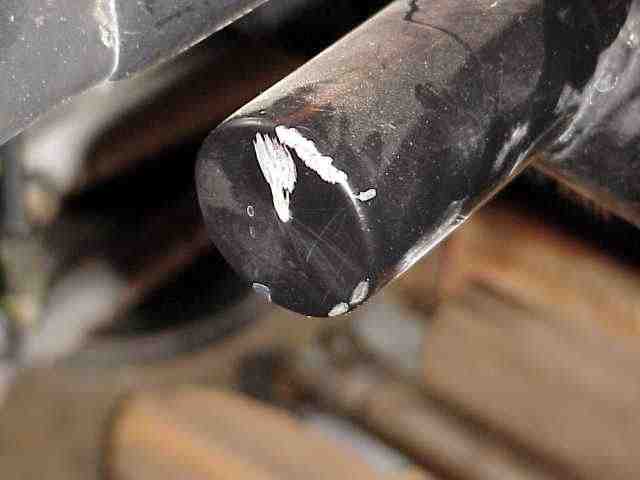
The bang you heard in the movie was the end of the bumper hitting the rock. Lost a bit of the powder coat but that was it. I have no doubt what so ever that it saved the fender from folding in, as I’ve seen so many other TJ fenders do when getting into the rocks. Yeah, the flare looks a little ruff, but I can live with that….and Troy’s bumper too!