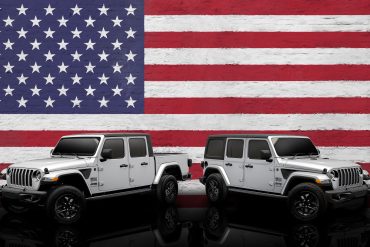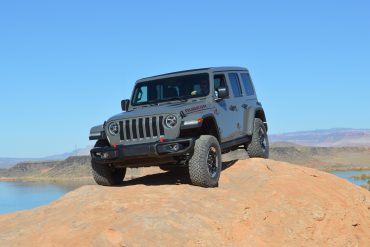
After years of waiting for a Jeep Wrangler diesel to hit the scene, it finally happened in 2020 and Jeep fans and diesel fans got their wish. The Wrangler came...


For every mountain there's a Jeep to climb it. Get the latest on what's happening with Jeep in our exclusive no-spam, no-marketing newsletter. Every email handwritten by a real person.
Our team has extensively and exhaustively curated the most in-depth content we could on the most popular Jeep models. We got into the details, down to lightbulb specifications and audio upgrades. If you're researching a Jeep, we might have what you're looking for.
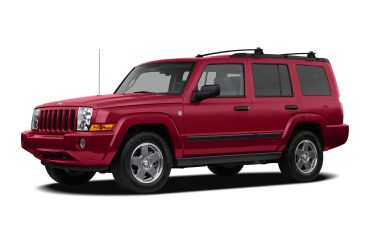
Otherwise known as the Jeep XK.
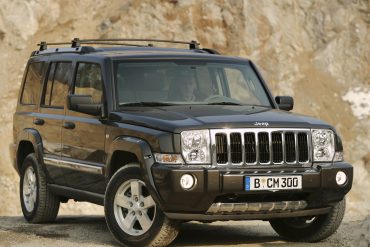
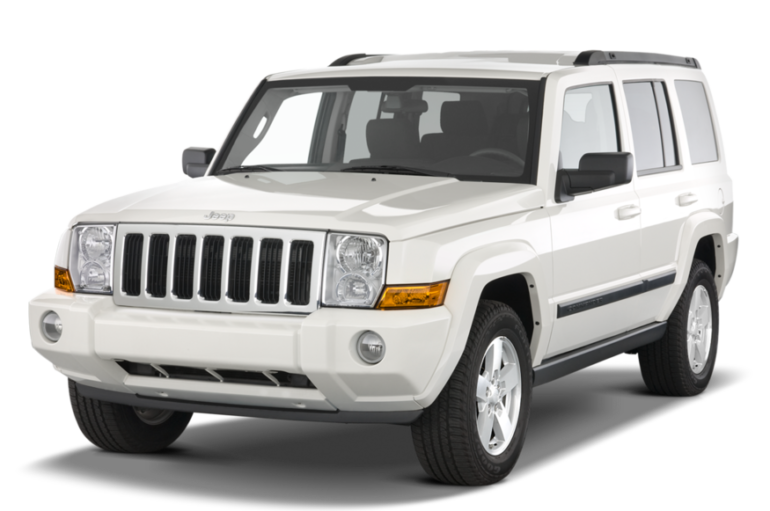
Available from 2005 - 2010, the Commander is the WK's boxy 7-seat cousin. It was available with a 3.7L V6, 4.7L V8, 5.7L hemi V8, or 3.0L turbo-diesel (outside North America).
More: Jeep Commander Research Hub.
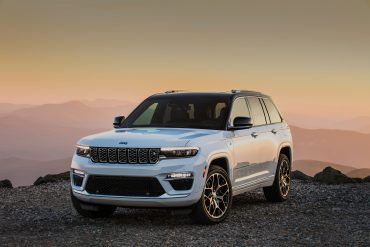
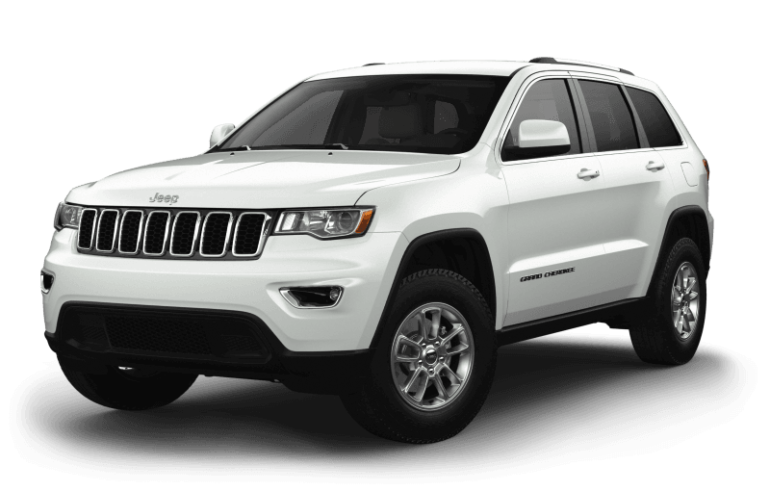
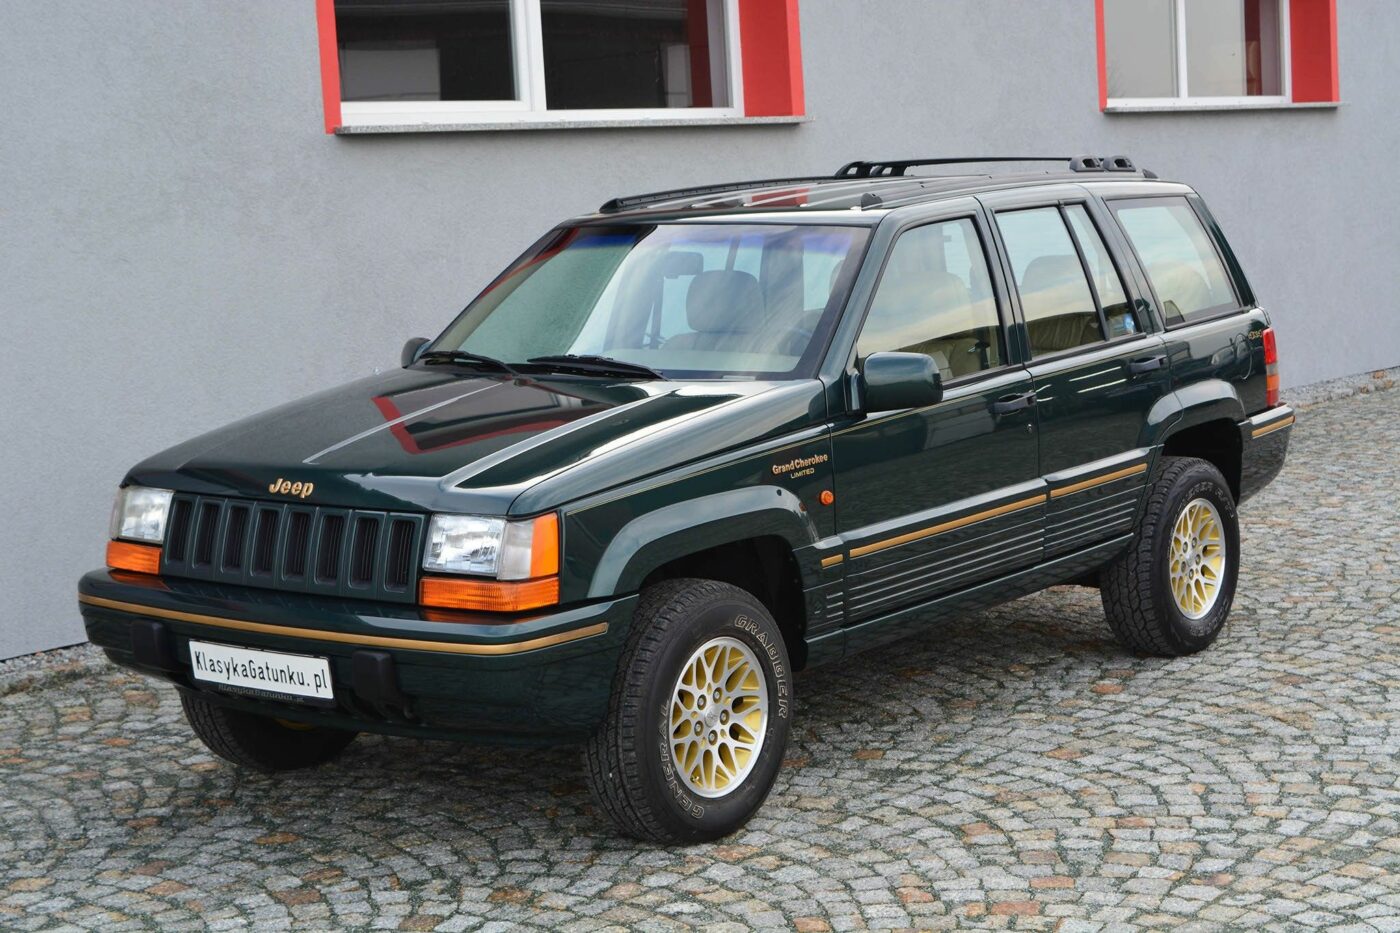
Otherwise known as the Jeep ZJ, WJ, WK, WK2, or WL.
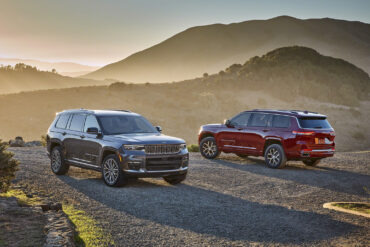
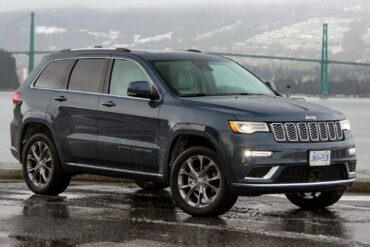
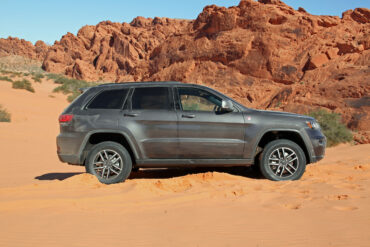
Available since 1993, the Jeep Grand Cherokee perhaps invented the performance off-road midsize SUV. Selling in huge quantities, the Grand Cherokee is the benchmark midsize SUV.