
Note: Toys by Troy shut down their operation at the end of 2007. Instead of removing this write-up, I am leaving it on the web site for a couple of reasons. The steps for installing it are pretty much the same as one from another manufacturer and so you’ll get an idea of what is involved if you decide to do this type of modification. If you happen to come across one on the used market, you’ll have some information about it that can help you do the installation correctly.
I was looking for a rocker guard that attached directly to the tub and provided good protection underneath. I also wanted a guard with a bar (I call them push off bars) that would double as a step (so Jeep friends could practice their out rigger skills) and also keep the doors away from the rocks a bit more than my current rocker guards were doing.. Troy’s new rocker guards had everything I was looking for so I picked up a pair to try on the TJ. I gave them a good once over after I got them home. The powder coat was nicely done and the 3/16″ thick guards looked like they would take a beating beyond what I would muster. I know Troy was running a pair of these on his TJ (it’s where the first prototype gets tested). I contacted MikeW (who helped me do the TWC installation) and set up a Saturday at his place to do some wrenchin’..
Since these were brand new guards (the Sun Performance guards these were replacing had been purchased used), I thought I would try Tough Stuff Product’s
Rocker Guard Gasket product. It is applied to the inner surface of the guard where it comes in contact with the rocker’s sheet metal. It is designed to cushion and seal the guard to protect the rocker’s paint and help stop rust damage. While Arizona is relatively dry and rust is not as big an issue as it is in other areas, I still wanted something between the Jeep and the guards.
With a mid-morning start time scheduled with Mike, I got to his place a little before 9:00. He had some coffee at the ready which was a good thing because my cup was just about emptied during the drive to his house. He had pulled his TJ out of the garage and I slipped mine inside (he was worried about me hitting the garage door but there was a full inch of clearance!) so we could get started. The weather forecast was for a high in the mid 90’s so neither of use wanted to wrench in the driveway. Even though it is nearly mid-October here, summer hasn’t completely lost its grip.
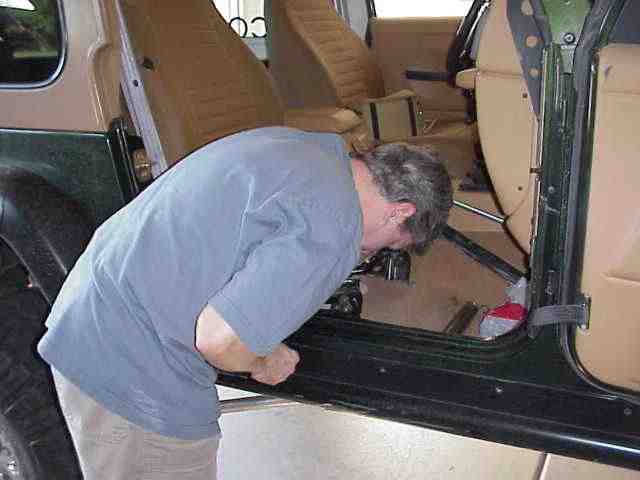
While I was breaking out the drill and bits, sockets and wrenches, etc., Mike got busy removing the Sun guards from the TJ. The Sun guards had been on for several years and were in pretty good shape. There were the obvious scratches on the sides and bottom of the guards, but they had remained straight and performed their job.
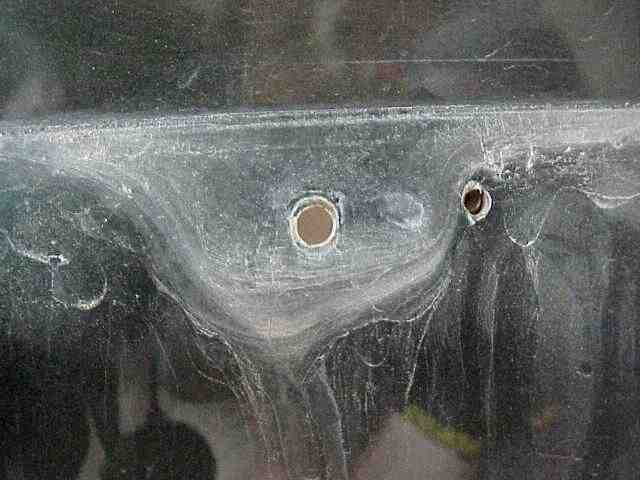
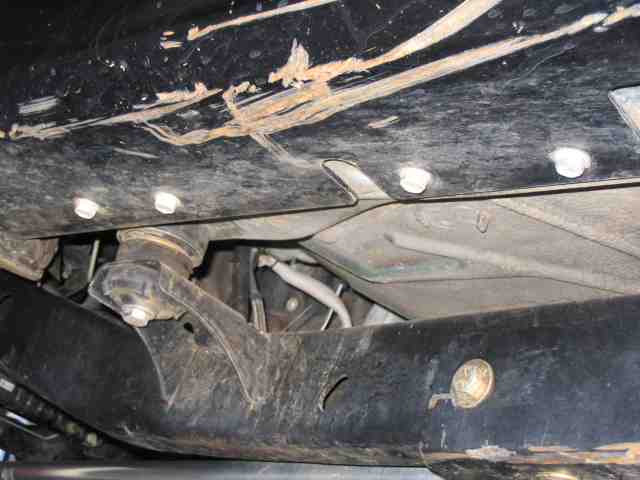
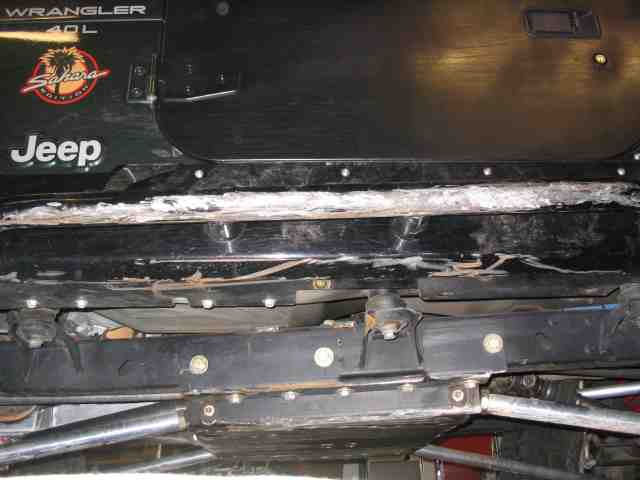
Both Mike and myself were glad to see that we had no major rust damage underneath the removed rockers. While the dirt and hard water had left their marks, the rust stayed away (see, I told you it was a DRY HEAT here in Arizona!). One of the reasons I wanted to use the rocker guard gasket material was to help with the half dozen holes that were no longer going to be used (not to mention the pop rivet holes from the Sahara trim strip). Mike wiped down the sheet metal and with just a little elbow grease, they came out looking pretty good.
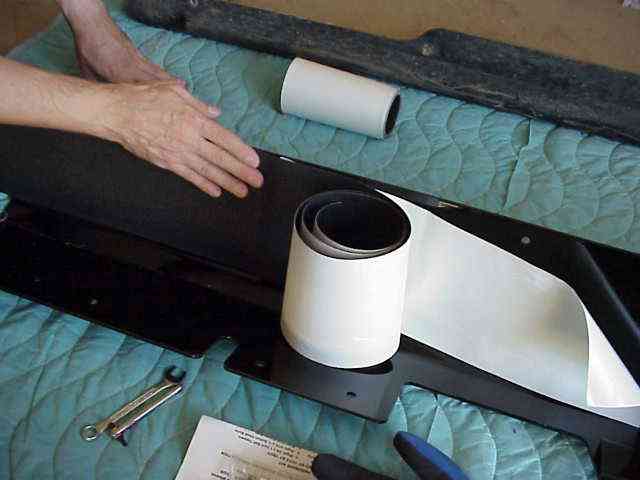
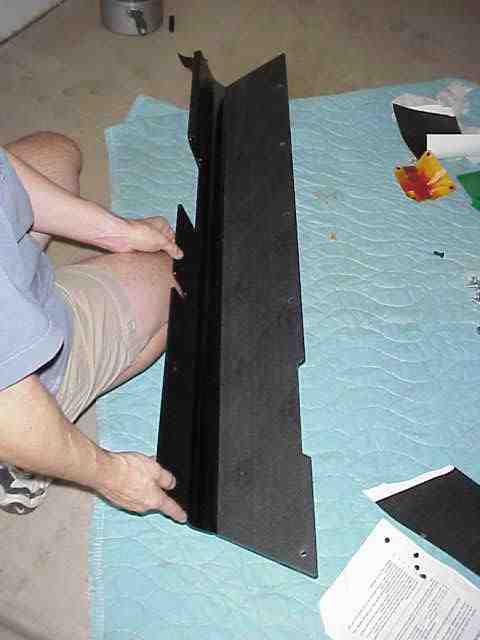
Before the guards could be fitted into position, the Tough Stuff gasket guard was applied. Piece of cake! I peeled the paper off of the back side (be careful, the adhesive is quite sticky) and we lined up the top edge of the gasket with the upper edge of the guard. The gasket guard is 6″ wide which was just right for these guards. Depending on the height of your rocker guards, you may have to trim the gasket material. Not a problem, a razor blade does a great job.
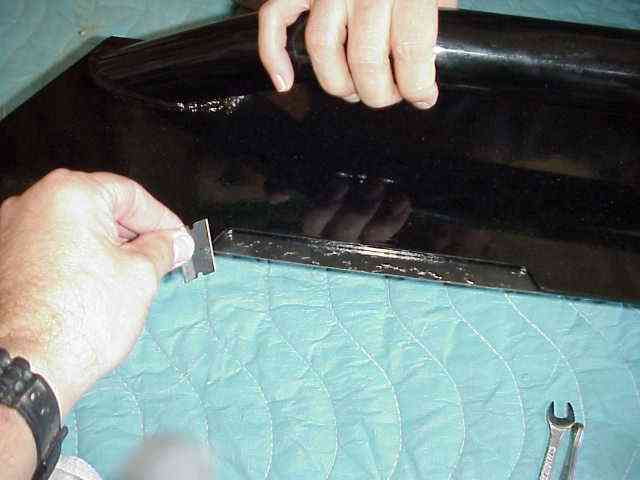
So that Troy’s guards can be flush fit at the bottom of the doors, the guards have a relieved area that is laser cut during manufacturing so the embossed JEEP emblem doesn’t get covered up. A little work with the razor blade and that was taken care of.
With the relieved area trimmed away, we cut off the excess from each end of the rocker guard and the task of installing the rocker guard gasket material was finished. We grabbed the other rocker guard and gasket material and made quick time with it as well.
Toys by Troy Rocker Guards
While the install instructions for Troy’s guards are but a single page, be sure to read through them and note the comment about your electrical cable bundle that runs along the top of the rocker on the driver’s side. Remove the plastic retainers (we finally ended up pulling them out with the pliers and used zip ties to put them back) so that you may temporarily move the cable bundle while you drill the necessary mounting holes. The passenger side as no cable bundle to worry about. Now would be a good time to say that you should always verify what lies behind the sheet metal as you drill holes in your Jeep. Drilling into a cable, hose, or fluid tubing is not a fun thing to have happen. It only takes a couple of seconds to double check!

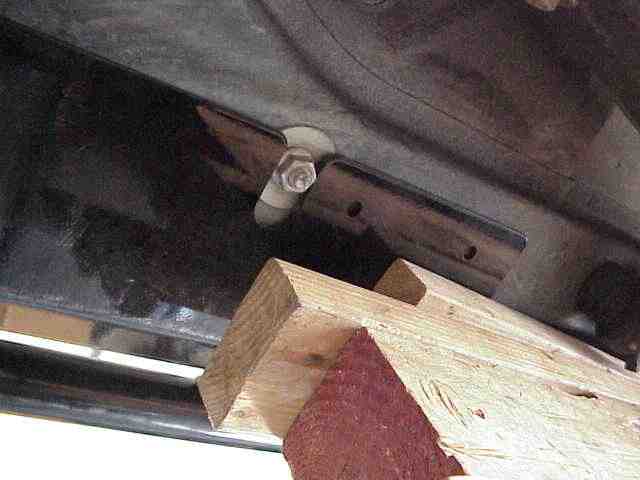
Fitting the rocker flush to the bottom of the tub is always a problem since that part of the tub is recessed about an inch or so. Sun used a pair of nylon spacers to fill this gap. Troy’s rockers have a section of metal welded on to the guard to fill this tub gap. I like this approach better since it disperses any rocker guard impact over a much larger portion of the tub’s bottom.
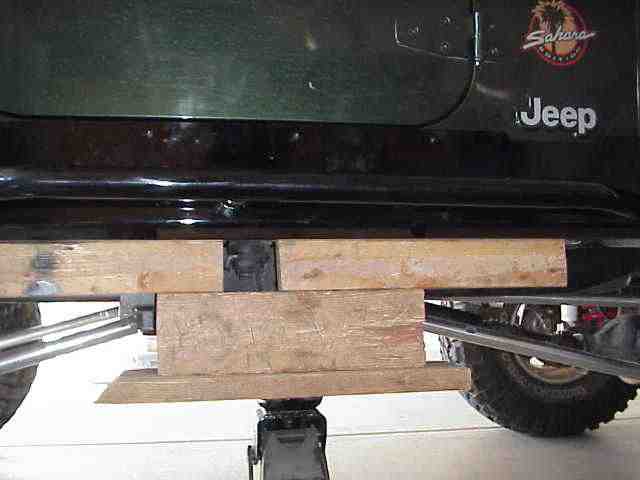
With the help of Mike’s floor jack and a variety of wood blocks, we placed the passenger side rocker in position. A few extra pumps on the jack handle put the rocker guard flush against the bottom of the tub and put it in line with the bottom of the door, just as intended. I checked the spacing of the welded in section and it too fit flush against the bottom of the tub….nice, very nice.
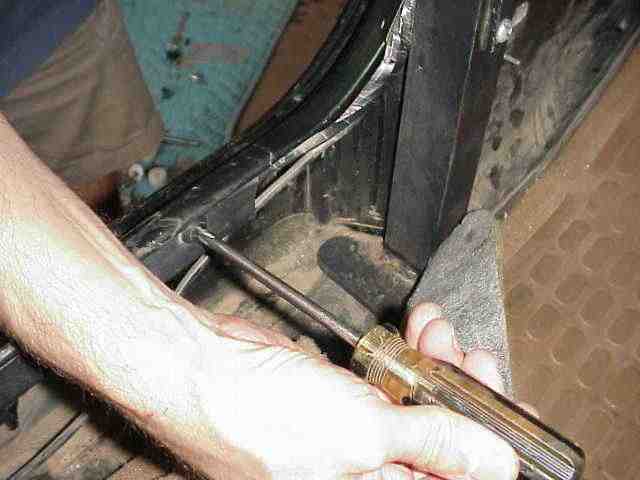
This one caught Mike and I completely off guard. The nut in the above picture is from the floor mount on my front roll bar. Notice the cut out on the rocker guard. Troy does not sell floor tie ins with his sport bar. My bar came from OR-Fab. Regardless, it was one thing I did not have to deal with. Troy’s attention to detail, like this, makes the install go so much easier. (Mike said he had to deal with a similar problem when he mounted his “name brand” rocker guards. Granted, you can’t expect every manufacturer to know all of the various options that might “interfere” with their product, but it is nice when one of them does.)
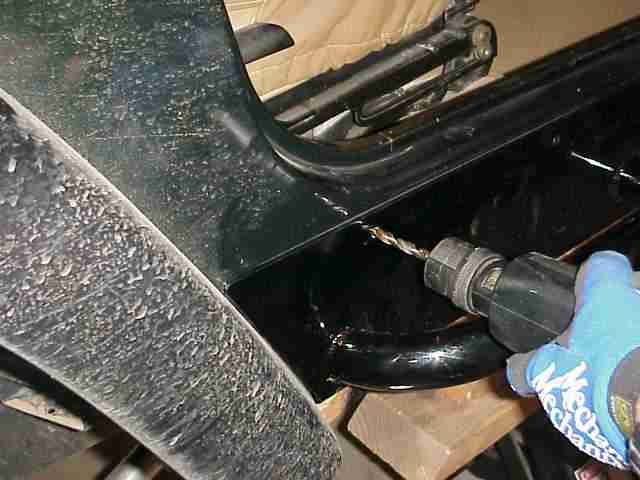
We double checked the fit of the guard and made sure nothing was on the back side of the rocker and then I started drilling holes into the Jeep tub. I did one at each end of the guard, put bolts in them, and then fished with the ones in the middle.
More Rocker Guards
Toys by Troy Rocker Guards

I finished the holes and Mike tightened the bolts on the upper edge of the rocker guard. While he was doing that, I drilled the holes from the bottom of the guard up into the tub. I put the half dozen bolts into the bottom of the guard and did a final check on all of the bolts.
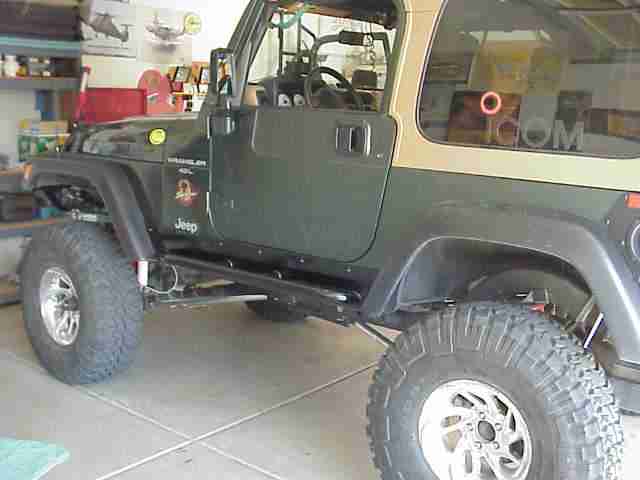
We finished up the job with installing the driver’s side guard and then got started on making some new sway bar links. The guards went on nicely. No need to re-drill a hole or figure out how to clearance something that didn’t fit correctly. As I write this, I’ve not had the TJ on the trail yet (they have only been on for about 6 hours). But, I have no doubt that they will work well. If you are looking for a pair of nicely designed guards, these would certainly do the job. I look forward to testing mine on the rocks.
Update: 10/09/2005
I thought I would post an update as to how the rocker guards are doing. They’ve been on for about two years now and have done everything I’ve asked of them. They are still tight, snug to the body, no mounting issues, etc. They’ve done a very good.
I had to chuckle a bit after reading an online comment from a guy who said that the self tapping bolts were just begging to get ripped off (or something like that). Even though I have done a fair job of scraping the length of the guard, there is not a nick on the bolt heads. I have successfully folded the center body mount ears over quite well, but again without ever touching the mounting bolts on the rocker guard. From what I heard, he doesn’t have the guards on his vehicle. I’ll trust what I see on my vehicle until something better changes my mind.
Update: 05/26/2006
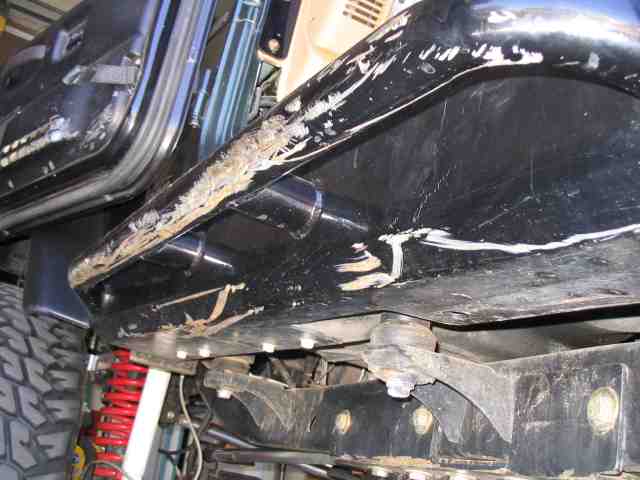
Last weekend, I ran Die Hard, a solid 5.0 trail here in the Phoenix area. It was a challenge on 35″ tires…..two of the six vehicles in our groups were moon buggies on 40″ tires….I was the smallest vehicle on the trail. Anyway, my reason for posting was to show you a picture of the rocker guards.
Here is a view of Lady’s driver’s side rocker guard. As you can see, it is quite well used from front to back. The side sliders didn’t look quite this bad, but they took on some new “finish” too. The heads of the bolts that hold the rocker guard onto the bottom of the tub still have no nicks on them. So much for them ripping out.